How we research: this guide is based on manufacturer specifications, published data and verified customer feedback. Products are not personally tested unless marked “Tested by us”. Our process.
We may earn a commission when you buy through links on this site, at no extra cost to you. As an Amazon Associate I earn from qualifying purchases.
Outdoor cooking gets easier when you treat it as repeatable technique instead of guesswork. Control heat, keep airflow in check, and confirm doneness with a thermometer rather than relying on color alone.
Use this hub as a map. Start with the section that matches your cooker, then open the deeper how-to pages when you need a step-by-step workflow, like Pizza Dough Recipe for an Outdoor Pizza Oven, How to Season a Flat Top Griddle, and How to Clean a Pizza Stone Without Damaging It.
If you are still choosing gear, compare Pizza Ovens: The Complete Buying Guide for 2026, Flat-Top Griddles: The Complete Buying Guide for 2026, and Grills & Smokers: The Complete Buying Guide. The tool picks below focus on current U.S. listings and practical features that help with real backyard cooks.
Quick picks
Comparison table
| Symptom | Likely cause | Quick fix | Check price |
|---|---|---|---|
| Flare-ups on the grill | Fat or drippings are hitting open flame, or the cooking area is too greasy | Move food to a cooler zone, trim excess fat, and keep grease paths and trays clean. | — |
| Food sticks to the griddle | Surface was not fully preheated or seasoned, or the food was moved too early | Preheat fully, oil lightly, and wait until the food releases before flipping. | — |
| Uneven browning | Hot spots, crowded grate or surface, or uneven preheat | Spread food out, rotate it, and move it between hotter and cooler zones. | — |
| Bitter or sooty smoke | Too much wood, smoldering fuel, or poor airflow | Use dry wood sparingly and keep the fire clean and steady with better airflow. | — |
| Soggy pizza crust | Stone or steel was not fully hot, or the toppings were too heavy | Preheat longer and keep the topping layer light. | — |
| Burnt flour or peel residue | Too much flour or semolina, or the pizza sat on the peel too long | Dust the peel lightly and shake off the excess before launch. | — |
Our picks in detail
TempPro TempSwift PLUS TP19H Instant-Read Meat Thermometer
Best for: Fast doneness checks across grills, griddles, and smokers
Handheld instant-read thermometer with a rapid response.
IP65 waterproof housing for outdoor cleanup.
Runs on a single AAA battery and includes a 3-year warranty.
What owners mention: Owners often praise the quick reads and clear display. The feedback pattern is mainly positive, with little sign of a recurring complaint theme in the accessible review summaries.
- Response time
- 1 second
- Temperature range
- -58°F to 572°F (-50°C to 300°C)
- Accuracy
- ±0.9°F
- Water resistance
- IP65 waterproof
- Power
- 1 AAA battery
- Warranty
- 3-year warranty
Pros
- Fast spot checks
- Easy to rinse or wipe after messy cooks
- Useful for quick doneness checks across backyard cooking
Cons
- Not a remote monitor
- Requires a AAA battery
Skip it if: you need remote monitoring or prefer a probe-style setup instead of a handheld instant-read thermometer.
Weber Connect Smart Grilling Hub 3201
Best for: Guided grilling on compatible Weber Generation 1 Smart Grills
Smart grilling hub with Wi-Fi and app-based prompts for compatible Weber Generation 1 Smart Grills.
Sends flip-and-serve notifications, custom doneness alerts, and estimated cook-time prompts.
Supports iPhone iOS 12.1+ and Android 7.0+.
What owners mention: Owners often like the guided prompts and temperature alerts, while some prefer a simpler manual workflow. The app-dependent setup is the biggest tradeoff in the feedback pattern.
- Model
- 3201
- Connectivity
- Remote Wi-Fi access
- Alerts
- Flip-and-serve notifications and custom doneness alerts
- Guidance
- Step-by-step grilling assistance
- Compatibility
- Generation 1 Smart Grills
- Mobile support
- iPhone iOS 12.1+ and Android 7.0+
Pros
- Helpful prompts for multi-stage cooks
- Useful when you want alerts while you prep sides or other food
- Works with compatible Weber Generation 1 Smart Grills
Cons
- Depends on Wi-Fi and app setup
- Less useful if you want a simple standalone thermometer
- Still works best when you keep the cooker attended
Skip it if: you want a simple standalone thermometer, do not own a compatible Weber Generation 1 Smart Grill, or prefer to keep your cook fully manual.
Start With the Method, Not the Meal
The best outdoor meals start with the cooking method. Thin foods and quick vegetables do well over direct heat. Thicker cuts, bone-in chicken, and anything that needs gentler heat do better in indirect or two-zone setups. If you are comparing cookers, start with Grills & Smokers: The Complete Buying Guide or Griddle vs Grill: Which Is Better for Your Backyard?.
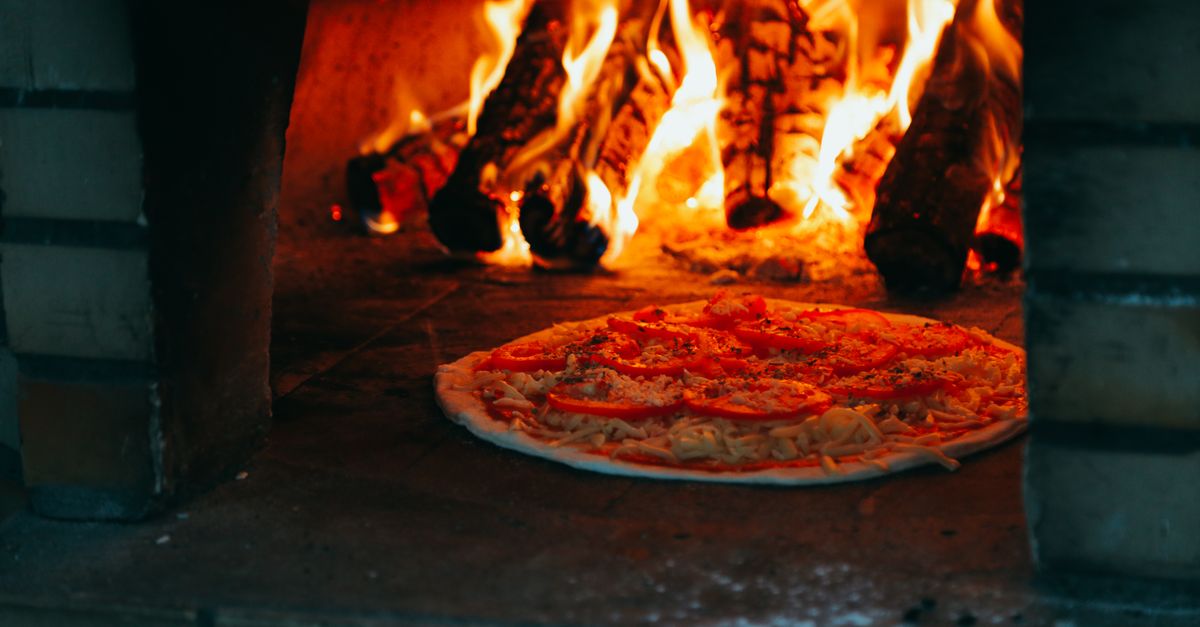
Pizza is its own category because the oven and baking surface need to be fully hot before you launch. For dough help, use Pizza Dough Recipe for an Outdoor Pizza Oven and then pair it with Best Pizza Peel for 2026: Top Picks for Launching, Turning, and Serving so you can move the pie cleanly.
Cook outdoors only, away from buildings, and never in garages, tents, or other enclosed spaces because of carbon monoxide. If you use propane, follow the manufacturer's connection and leak-check instructions before lighting. Keep children and pets away from hot surfaces, vents, and tools.
- Use direct heat for fast browning and short, simple cooks.
- Use indirect heat for thicker food that needs gentler cooking.
- Use two-zone heat when you want both searing and a safe holding area.
- Use a griddle when you want a flat surface and full-contact browning.
- Use a pizza oven when the goal is fast cooking at very high heat.
- Keep the cook area attended while food is on the heat.
Pizza-Oven Workflow: Dough, Heat, Launch, and Recovery
Pizza success starts with dough that stretches cleanly and bakes fast. If the dough is too wet or too heavily topped, the crust will lag behind the toppings. If you are still choosing a cooker, Pizza Ovens: The Complete Buying Guide for 2026 and Best Outdoor Pizza Oven for Beginners in 2026 are useful companion reads.
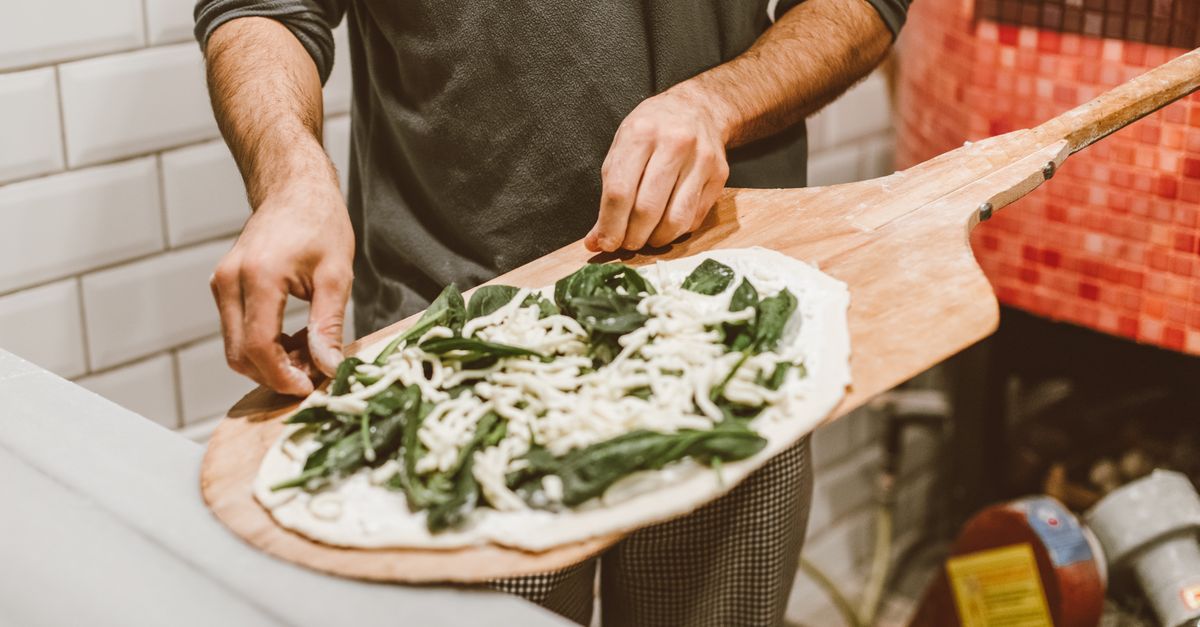
The launch matters almost as much as the bake. Dust the peel lightly, keep the pizza moving while you build it, and launch as soon as it is assembled. A good peel helps here, so Best Pizza Peel for 2026: Top Picks for Launching, Turning, and Serving is worth a look if you want a smoother workflow.
After baking, let the oven and stone cool completely before cleanup. For residue and care, follow How to Clean a Pizza Stone Without Damaging It so you do not crack the stone or leave moisture behind.
- Preheat until the baking surface is fully saturated with heat, not just the air inside the oven.
- Keep toppings modest so the crust can bake cleanly.
- Use only a light dusting of flour or semolina on the peel.
- Turn the pizza if one side browns faster than the other.
- Never shock a hot stone with water.
- Let the oven and stone cool fully before cleaning or storage.
Griddle Basics: Seasoning, Heat, and Cleanup
A flat-top works best when seasoning and heat control are part of the cooking routine. Follow How to Season a Flat Top Griddle when the surface is new or needs a refresh, and use Flat-Top Griddles: The Complete Buying Guide for 2026 if you are comparing sizes and burner setups.
The goal is a smooth, dry, well-oiled surface that releases food cleanly. Learn the hot spots, preheat evenly, and use the hottest area for searing while you hold or finish on a cooler edge.
Cleanup is easier while the surface is still warm. Scrape off food, wipe away residue, and protect the finish the way your griddle material requires.
- Start with a clean, dry surface before seasoning.
- Use very thin oil coats; heavy oil leaves sticky, gummy spots.
- Preheat evenly, then learn where your hottest and coolest zones sit.
- Use metal tools carefully so you do not gouge the surface.
- Clean residue while warm so it does not harden into burnt buildup.
- Reseason when the surface looks dull, patchy, or rusty.
Grilling Fundamentals: Direct, Indirect, and Two-Zone Heat
Direct heat, indirect heat, and two-zone heat are the backbone of backyard grilling. Use direct heat for fast browning, indirect heat for gentler cooking, and a two-zone layout when you want both at once. If you are choosing equipment, Grills & Smokers: The Complete Buying Guide and Griddle vs Grill: Which Is Better for Your Backyard? are useful next steps.
A thermometer removes most of the guesswork. Poultry should reach 165°F / 74°C, ground beef 160°F / 71°C, and pork chops 145°F / 63°C with a rest. If you want a handheld option, see Best Meat Thermometer for Grilling in 2026.
Resting matters because heat keeps moving after the food comes off the grill. A brief rest helps the juices settle and makes slicing cleaner.
- Use direct heat for burgers, vegetables, and other quick-cook foods.
- Use indirect heat for chicken pieces, roasts, and thicker cuts.
- Build a two-zone setup so you can move food away from flare-ups.
- Keep grease under control to reduce flare-ups and smoke.
- Check the thickest part of the food with a thermometer.
- Stay near the cooker while it is running and rest food before slicing so juices stay where they belong.
Smoking Basics: Low-and-Slow Without Guesswork
Smoking is about steady heat and clean smoke, not chasing a clock. Use wood sparingly, keep airflow moving, and avoid opening the lid repeatedly. If you are deciding between cooker types, Pellet Grill vs Gas Grill: Which Is Better for You? and Best Pellet Grill for Beginners: Easy Starter Picks can help.
The flavor should be gentle and balanced. Thick, dirty smoke usually means the fire needs more air or less wood. The best smoking setup is the one that holds temperature steadily while you stay nearby and monitor the cook.
- Aim for clean, steady smoke instead of thick white clouds.
- Use wood as an accent, not as the entire fuel load.
- Leave room for air to move around the food.
- Avoid repeated lid opening, which drops temperature and slows the cook.
- Track progress with a thermometer instead of the clock alone.
- Rest smoked meats before slicing, chopping, or pulling.
Simple Recipe Ideas and Doneness Cues
These starter builds are designed to practice the method, not just copy a recipe. Keep the seasoning simple and let the heat do the work.
Quick flavor starters
Simple recipes usually work better than complicated ones. Let the method do the heavy lifting and keep the seasonings straightforward.
- Steaks and burgers: salt, pepper, and a little oil; finish with butter or herb oil after resting.
- Chicken: oil, salt, pepper, paprika, garlic, and other dry seasonings that like heat.
- Vegetables: oil, salt, pepper, and a finishing squeeze of lemon or herbs after cooking.
- Pizza: light sauce, modest cheese, and restrained toppings so the crust can bake cleanly.
Three easy practice builds
Each build gives you a different heat pattern so you can practice control, not just follow a recipe.
- Grilled chicken thighs: season with salt, pepper, and oil; cook over indirect or two-zone heat until the thickest part reaches 165°F.
- Smash burgers with onions and cheese: use a hot, lightly oiled surface; cook until the patties are browned and the cheese melts.
- Margherita pizza: keep sauce and cheese light, launch onto a fully heated stone or steel, and turn if one side browns faster.
- Smoked ribs: apply a dry rub, keep the smoke clean and steady, and cook until the meat is tender.
Doneness checklist
Use these visual cues and safe temperatures as your final check.
- Thin vegetables: browned edges and tender-crisp texture.
- Burger patties: 160°F / 71°C.
- Chicken pieces: 165°F / 74°C at the thickest part.
- Pork chops: 145°F / 63°C, then a brief rest.
- Pizza: crust browned, cheese melted, bottom crisp.
- Ribs or shoulder: probe-tender and easy to slice or pull.
Common Problems and Fast Fixes
Most problems come from too much heat, not enough preheat, too much moisture, or poor airflow. Change one variable at a time so you can see what fixed it.
If a cook starts to drift, move food to a cooler zone, let the surface heat longer, reduce moisture or wood, or clean grease and residue before they become a bigger problem.
- If a grill gets flare-ups, reduce fat and use a cooler zone.
- If the griddle sticks, re-check seasoning and preheat.
- If smoke tastes harsh, use less wood and improve airflow.
- If pizza is pale or soggy, let the stone or steel heat longer.
- If browning is uneven, spread the food out and rotate it.
- If residue builds up, stop and clean before the next cook starts.
Cleanup, Safety, and the Tools That Save Time
Good cleanup keeps the next cook more predictable. Grease, ash, burnt flour, and stuck-on food all change how a cooker behaves.
Smart thermometers and app hubs can help you monitor a cook, but they do not replace supervision. Weber's guidance for the Connect Smart Grilling Hub 3201 says not to leave the grill unattended and to follow the grill owner's guide. Keep children and pets away from hot surfaces, and let everything cool before cleanup. For stone care, use How to Clean a Pizza Stone Without Damaging It.
Outdoor cooking appliances are for outdoor use only, away from buildings, and never in garages, tents, or other enclosed spaces because of carbon monoxide. If you use propane, follow the manufacturer's connection and leak-check instructions before lighting.
- Scrape griddles while warm, then wipe and re-oil if needed.
- Let pizza stones cool completely before cleaning.
- Empty ash and grease only after everything is fully cold.
- Replace damaged gaskets, cracked stones, or warped tools when needed.
- Never trap moisture on hot parts during cleanup or storage.
- Follow the manufacturer's care instructions for every cooking surface.
FAQ
What is the difference between direct, indirect, and two-zone cooking?
Direct cooking puts the food over the heat source for fast browning. Indirect cooking moves the food away from the heat so it cooks more gently. Two-zone cooking gives you both a hot side and a cooler side, which is the most flexible setup for most backyard meals.
Do I really need a thermometer for outdoor cooking?
Yes. A thermometer removes the guesswork that comes from weather, food thickness, and fuel changes. It is the easiest way to confirm safe internal temperature, especially for poultry, thicker cuts, and smoked meats. If you are choosing one, Best Meat Thermometer for Grilling in 2026 is a useful place to start.
Can I use soap on a pizza stone?
Use the care method the manufacturer recommends. In many cases, the safer approach is dry cleanup and full cool-down rather than soaking or harsh washing, because stones can absorb moisture and crack from thermal shock. For a step-by-step process, see How to Clean a Pizza Stone Without Damaging It.
How often should I season a flat-top griddle?
Season it when it is new, after a deep clean, or anytime the surface looks dry, dull, patchy, or rusty. Light maintenance seasoning is usually better than waiting until the surface fails. The full process is in How to Season a Flat Top Griddle.
Why does smoked food sometimes taste bitter?
Bitter smoke flavor usually comes from dirty smoke, poor airflow, or too much wood. Clean, steady smoke is better than thick white billows. Keep the fire stable and use wood sparingly.
What temperature should chicken reach on the grill?
Poultry should reach 165°F / 74°C at the thickest part. Use a thermometer instead of judging by color or cook time.
How do I keep outdoor cooking safe?
Cook outdoors only, away from buildings, and never in garages, tents, or other enclosed spaces because of carbon monoxide. Keep children and pets away from hot surfaces, follow the manufacturer's propane connection and leak-check instructions, and let the cooker cool fully before cleanup.
How do I keep pizza dough from sticking to the peel?
Use a lightly floured or semolina-dusted peel, keep the dough moving as you build the pizza, and launch soon after topping it. If you want a dough baseline, start with Pizza Dough Recipe for an Outdoor Pizza Oven.
How do I know when my grill, griddle, or pizza oven is fully preheated?
Use the cooker's own indicators first, then look for an even heat pattern. Food should sizzle right away on a hot griddle, grill grates should be ready to sear, and the pizza stone or steel should be preheated according to the oven's instructions before you launch. If the surface still cooks unevenly, give it more time.
Should I cook with the lid open or closed?
Use the lid the way the cooker is designed: open when you need constant attention and fast access, closed when you want steadier heat, better fuel efficiency, or more even cooking. For indirect cooking and smoking, the lid is usually part of the method, but always follow the manufacturer's directions.
The bottom line
Outdoor cooking becomes much easier once you separate the method from the meal. Season the griddle properly, clean the pizza stone the right way, manage direct and indirect heat with intention, and use smoke as a flavor tool instead of a mystery.
If you keep the fire steady, cook to safe internal temperature, and clean up before the next session, you will get more consistent results with less frustration. Use the detailed guides in this section when you want the full step-by-step version of any one technique.